Do you remember when we were in elementary school and some rotten bully would say something mean to us? What was your response? The most popular one when I was in school was “I’m rubber, your glue, anything you say bounces off me and sticks to you.” That’s what this dresser is saying to me…(and I’m not even a rotten bully)
I had such high hopes for this dresser. I saw so much
potential. With each failing attempt, my hopes fall just bit and its potential diminishes;
but, I REFUSE to give up. My parents and Mr. Awesome will be the first to tell
you just how stubborn I can be.
 |
| Find the Fabulous and Free Post here |
I started off by sanding and quickly realized that wouldn’t be enough; it would have to be stripped. So I went down to trusty ol Home Depot and bought me some stripper. I opted for the spray can, thinking it would be plenty and easier to use…FAIL #1. If you need to ever use stripper, buy the quart size and save yourself the trouble. The spray can did not go very far AT ALL! I also want to stress the importance of wearing rubber gloves…they don’t joke when they say it will burn so just take their word and mine. I even accidently got it on my jeans and I could still feel it. Now I’m not sure if it was the brand of stripper or the dresser itself but I haven’t been impressed with the stripping process.
 |
| Remember...get the quart size! It's worth it. |
I followed the directions on the quart of stripper but not all of the varnish stripped off. I repeated the stripping process a couple times, sanded, and then wiped it down with TSP water and then clean water. One would think that would be enough, right? FAIL # 2!
 |
Wait the appropriate amount of time and for the stripper to
bubble before beginning to strip. |
There were some significant chunks missing out of two of the legs so I grabbed my wood putty and rigged a way that would allow me to fill them in easier (see pictures for explanation) Once the legs were fixed and the other holes filled in, I glued in my shelves and waited for the glue to dry.


 |
This allowed me to fill in the hole instead of
trying to create a straight edge from scratch. |
 |
| Filled in with putty |
 |
| Sanded smooth |
 |
Isn't my nephew cute? He stopped by with Grandpa and
I couldn't resist taking his picture. So Handsome! |
 |
| Do you like my improv clamps for the back? |
After the shelves were glued into place I cut out the holes
in the back to allow the cables and cords to go through the back (have I
mentioned that this is going to be our t.v. stand?)
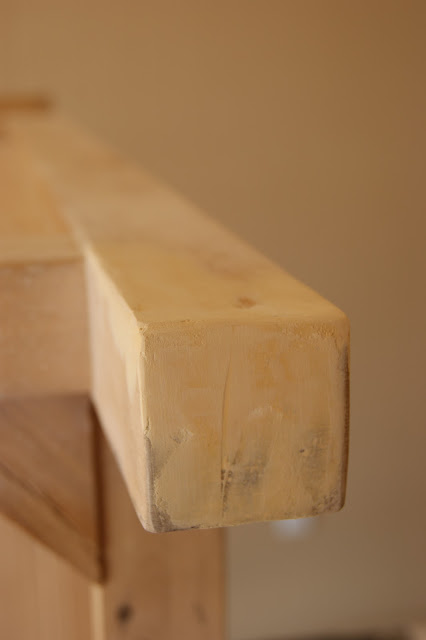
Since it appeared to be stripped and sanded down to bare
wood, I didn’t see the need for primer…FAIL #3 After all, I was painting it a
dark purple so no need to prime it white first (no judging my color choice, it
WILL be awesome)
I was finally read for paint. I had to thin the paint out considerably
to get it through my gun (I think I need a different gun, what do you think?) I
put on the first super thin
coat and it seemed to go on just fine. I then waited for it to dry. When I went
back out, prepared to lightly sand it before the next coat, I noticed that the
paint just ran, and ran, and ran. Talk about irritating. I took out the sandpaper
and began to lightly sand…off came the paint. FAIL #4! I ran a cloth over the
legs super lightly and the paint just peeled off. The paint did not stick in
the slightest. Annoying? Yes!


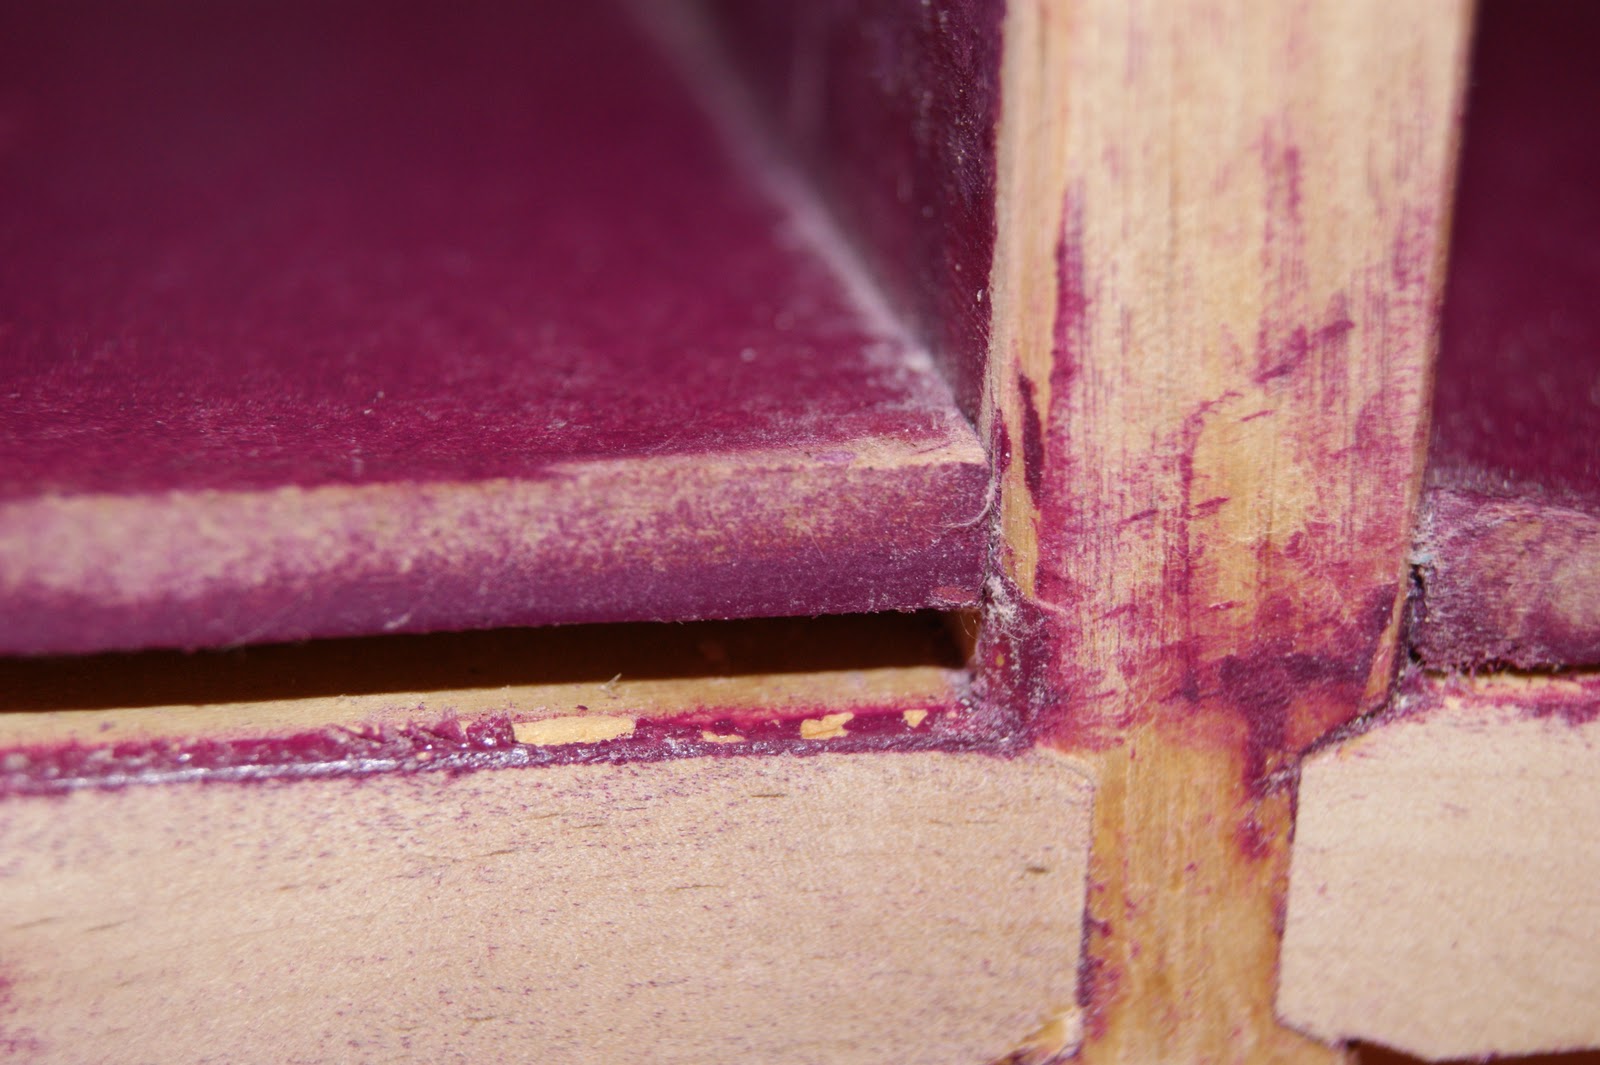
Out came the stripper…again. I stripped this stubborn thing
4 times! and this is how it turned out. Unfortunately, the stripper removed
some of the putty from the fixed legs…FAIL #5. I opted to just cut the legs off
an inch since the dresser could stand to lose some height and I figured the
putty would keep chipping off in that area. I sanded it…again, this time going against the
grain in hopes of roughing it up better.
The top of the dresser didn’t cooperate very well and it had
some low uneven spots so I decided to go get some 5mm panel and used contact
cement to adhere that to the top. I then routed the edges down to the size I
needed.
Now, this left me with some pretty unattractive raw edges so I went to Home Depot and found some decorative trim that I liked. I measured the lengths and cut the edges at a 45 degree angle. I lined up the trim and glued them on using normal wood glue.
After all this, I was finally ready to prime. Or so I
thought anyways. I went out all ready to prime just to find that my shelves had
come unglued…FAIL #6. It was one of those moments where you stand there and genuinely
ask yourself if this project is worth it or if you should just trash the whole
thing. Would you have given up? I didn’t. I attempted to glue the shelves back
in but this time with contact cement (that will hold anything right?) FAIL #7!
Not even contact cement would keep these shelves in place. That’s where the old
elementary school saying popped into my head. Nothing sticks to this thing!
This is the point that I am at now. I can’t say that I am
excited for this project anymore but I will persevere and hope that it gets
better…or at least doesn’t get worse.
I look forward to writing the finish post for this project
and hopefully sometime soon.
Would you have given up? Do you still see potential or am I fighting a loosing battle?
-Jen


Haha--I thought the dresser was pretty the way it was. You definitely have "stick-to-it-tiveness". Much more than most people. I would have just sanded in the first place, primed it, then painted the purple. Apparently you had some remaining oily products left on the wood, then thinned the latex paint too much. You didn't say it was latex acrylic, but I'm guessing that was the problem. You can't paint water base over oil. It won't stick. Also, I would have tried to nail or staple the shelves in if you could possibly get a brad and hammer or nail gun in there. You truly went more than the extra mile to get this done, that's for sure. Looking forward to seeing the results. ;)
ReplyDeleteholy moly you hung in there so much longer than I probably would have! congrats! I'm sure you'll love it in the end!
ReplyDelete